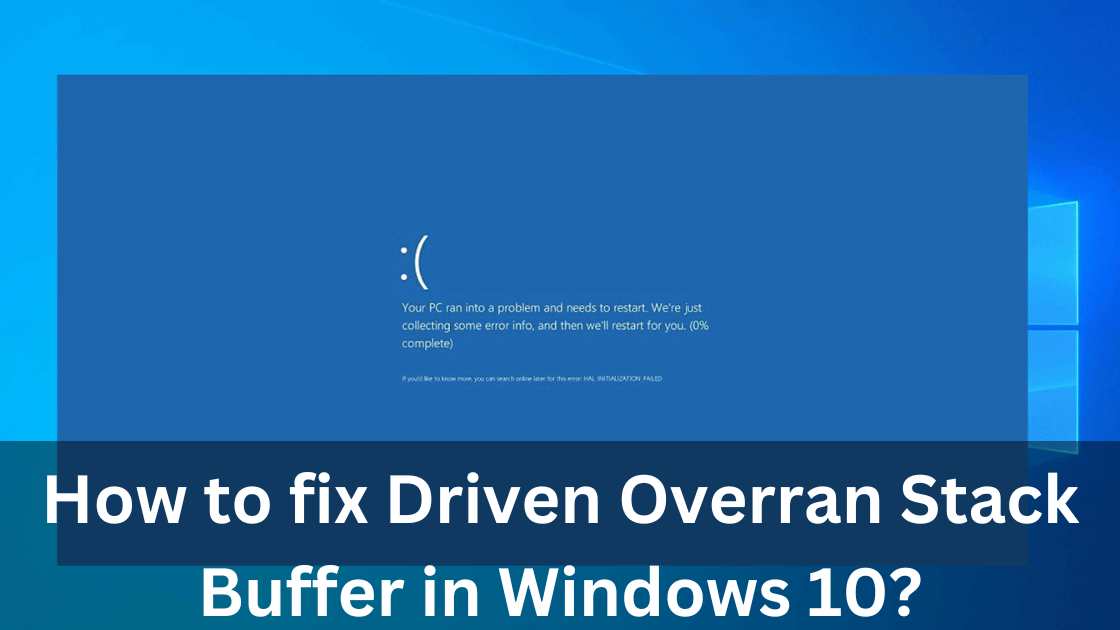
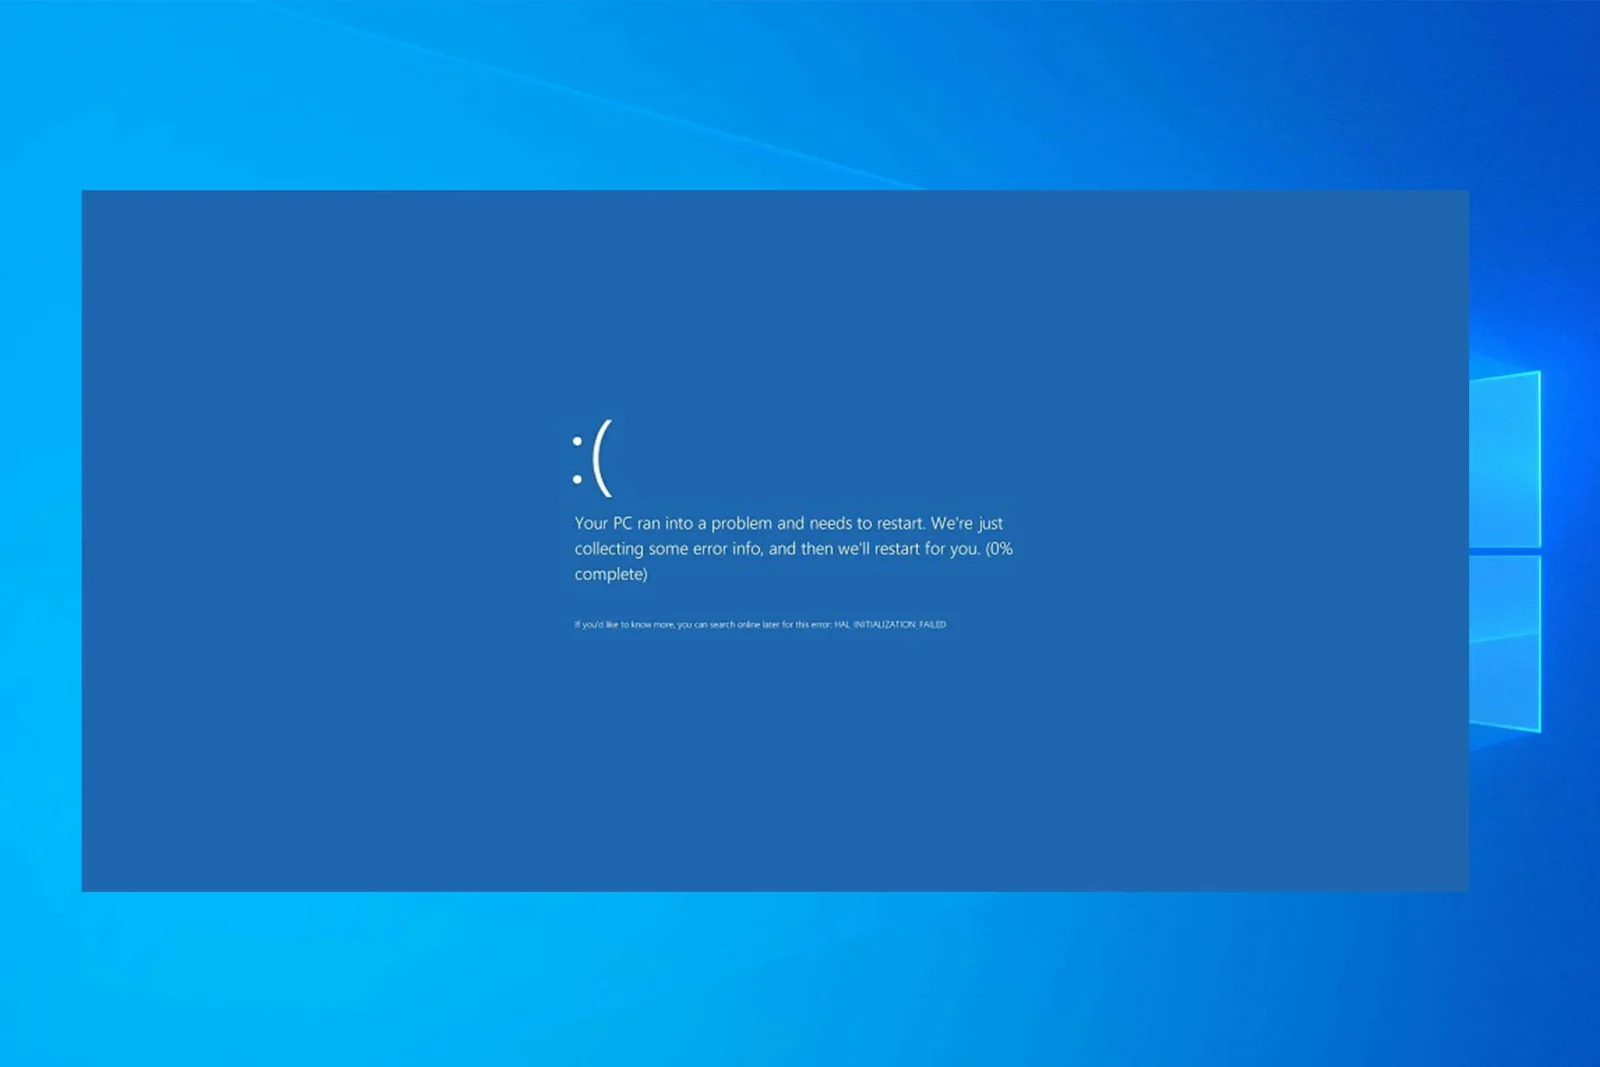
If you have encountered the blue screen of problems in your Windows 10 PC, then you should try to fix it. It can occur due to some old drivers, corrupted systems, and other problems. If you are facing the Driven Overran Stack Buffer problem, then do not worry because, in this article, we will help you fix this problem. So let’s get started.
What is the Driven Overran Stack Buffer problem?

The Driven Overran Stack Buffer error appears randomly with a value 0x000000F7. It forces you to reboot your PC to prevent any kind of damage. If you have a corrupted or bad driver in your computer system, then there is a high probability that you will face this error. It has been reported by many Windows users. This bug usually starts while installing a new Windows update or playing a game. So, what can be the cause of this error? Usually, this error occurs due to outdated drivers, or malware attacks, hardware and software errors, and corrupted system files. It starts a Reboot loop and makes it unusable for you. So let us show you how you can fix this error.
Update your Windows to the latest version
The DOSB error can be caused by either hardware or software conflicts. We highly recommend that you update your Windows to the latest version to fix this problem. Updates always work for the betterment of your OS. They usually fix the software and hardware issue that you are having. If you want your PC to be secure, and free of errors, then it is highly recommended to update your Windows. Let us show you how to install the latest updates on Windows 10.
Step 1: Turn your Windows 10 PC on and go to the home screen.
Step 2: Open the Settings option from the Windows menu.
Step 3: Find the Updates and Security option from the list.
Step 4: Windows will start checking for available updates and will inform you as soon as possible. If an update is available, then install it. This process might fix your issue. If it does not, then let’s move on to the next method.
Run Check Disk
Corrupted hard drives can also be a reason for the DOSB error. You can overcome this error with the Check Utility Disk. It can test integrity and fix errors on your hard drive. Let us show you how to do that.
Step 1: Click on the Windows logo at the bottom left corner of the screen.
Step 2: You will see a search bar. Type cmd in it and press the enter key.
Step 3: When you see the Command Prompt menu above, right-click on it and click on Run as Administrator.
Step 3: A black interface will open. Type “chkdsk/r” and press Enter.
Step 4: You will be asked to run the check before restarting the system. Press Y and then hit the Enter key.
Step 5: Now, turn off the command prompt screen and restart your PC. When the restarting process happens, the computer will run the check.
If this process does not work, then use the next one.
Uninstall the defective software
If the DOSB error occurs right after installing a program, application, or driver, then this means that it is the problem. You will have to uninstall the app that caused this error. Go to the start menu and press the Uninstall option. Then, select Programs and features. A new window will open. It will let you uninstall or modify a program. Select the defective program and remove it from the list. If this process did not work, then follow the next method.
Turn off the Fast startup feature
Windows introduced the Fast Startup feature to reduce the startup time. It helps Windows to start faster. Windows users seem to love it. But there are some disadvantages of this feature. It can cause some problems to your PC. Let us show you how to turn it off.
Open the Control Panel. Go to the Power options. Then choose what the power buttons do. Click on Change Currently unavailable Settings. It is recommended that you turn off the Fast Startup feature. Save the settings and then restart your PC. It might fix the error. If it does not, then let’s move on to the next method.
Run the Windows Memory Diagnostic tool
If the RAM of your computer system is corrupted, then you might experience a lot of crashes, reboots, or even beeping sounds at the startup. Sometimes, this problem gets fixed when you add a new RAM, so you can try this process and see if it works. If you have not added any RAM, then run a Diagnostic test with your RAM. It will check for memory failures and errors. Let us show you how to run this tool.
Step 1: Press the Windows key on your computer and type Memory.
Step 2: Choose the Windows Memory Diagnostic option.
Step 3: Choose the Restart now and check for Problems option.
Step 4: Save all your files before choosing this option. You also should close all running programs. This process will take time. If any kind of error is found by the tool, then this could be a possible cause of the DOSB error. The best thing to do in this situation is to change the bad memory.
Run a malware scan
Sometimes your PC gets infected by some kind of virus or other malware. It can also become a cause of the DOSB error. If you have anti-virus software, then run a malware scan and clean all the detected malware.
Check RAM and hardware components
Newly installed hardware often causes these kinds of errors. We recommend that you should replace that hardware and check if it fixes the error. When hardware is not compatible with the motherboard, it causes crashes and the DOSB error.
This error can also be caused by a defective error. That is why we want you to check your RAM. RAM can be a common cause of these kinds of errors. You should check all the hardware components if the RAM is working fine.
Third-party antivirus software can also be a cause of this error. So you should temporarily remove all the third-party antivirus apps on your PC to check whether the error was caused by it or not. Uninstalling the program does not fix this error because most antiviruses leave their files before the uninstallation. They are not removed even after you uninstall the app. You should use a dedicated removal tool for these kinds of antiviruses. There are many antivirus companies that offer you these tools.
If all of the above-mentioned methods do not work for you, then the last one should. Let us show you the final method to fix this error.
Reset your Windows
The last method to fix this error is to reset your Windows 10. When you reset your Windows 10 OS, it removes all the files from your C drive. So you should back them up if you want them in the future. You might need a bootable USB flash drive to complete this step. Follow the instructions in the section below to reset your Windows.
Step 1: You have to restart your computer a few times during the booting process to begin the Automatic Repair.
Step 2: Select Troubleshooting, and then Reset this PC option. Make sure that you have a Windows 10 installation media as you might be asked to insert it.
Step 3: Only select the drive where you have installed the Windows. Then, click on Delete my files and then click on Reset. Your Windows 10 OS will be reset after this. It will surely fix your issue.
Final Words
We hope this article helped you in fixing the Driven Overran Stack Buffer error in Windows 10. We showed you all of the possible solutions for all possible problems. If you want to share anything related to this topic, then you can let us know in the comment section. You can also ask queries if you want to. We would love to help you. If you have another way of fixing this error, then tell us. We would love to see your comments.


Leave a Reply